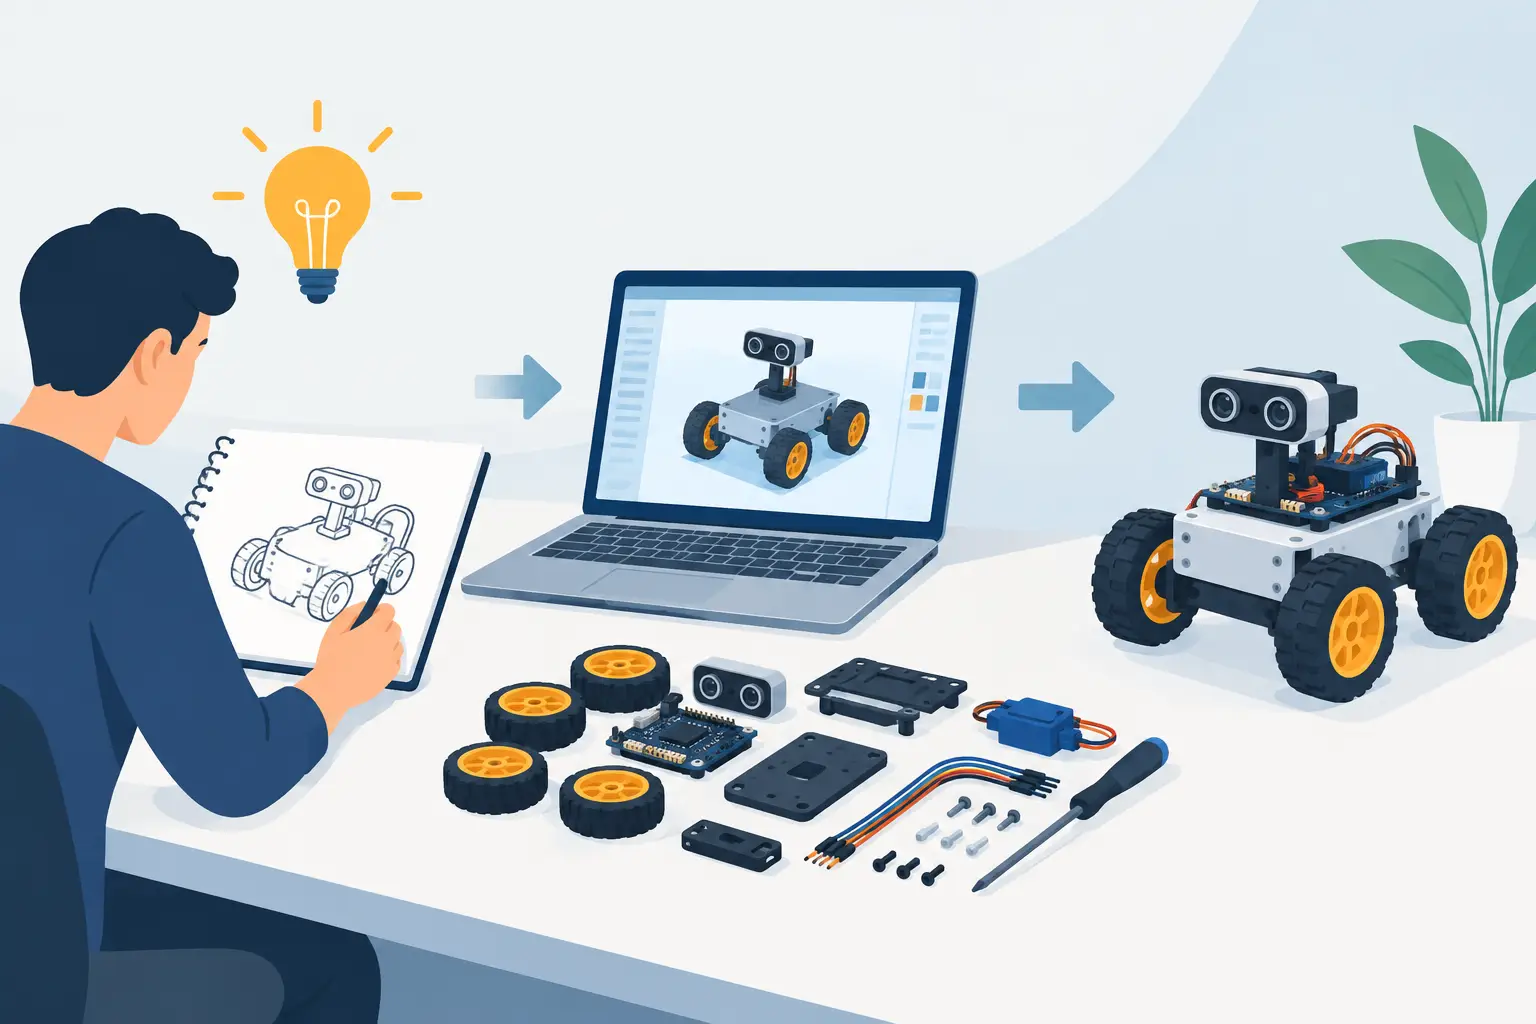
A robot idea becomes difficult the moment it has to move from a sketch into a shopping list. The challenge is not only choosing a motor or writing a few lines of code. Custom robotics kit design requires every mechanical, electrical, and software decision to work together - and to be understandable by the person who builds it next.
That next person might be a student in a STEM lab, a customer who bought your kit, a teammate preparing a prototype, or you six weeks after the original idea made perfect sense. A successful kit does more than function on a bench. It gives builders a clear, repeatable path from parts to a working machine.
Custom Robotics Kit Design Starts With Decisions
A kit is a productized building experience, not just a robot broken into pieces. Before selecting components, define what the builder should be able to do when assembly is complete. “A small rover” is a direction. “A desk-sized rover that avoids obstacles, runs for 30 minutes, and can be assembled by a first-year engineering student in two hours” is a design brief.
That level of specificity prevents expensive detours. A two-wheel rover, for example, needs decisions about terrain, payload, runtime, speed, turning behavior, sensor placement, charging, and the user’s skill level. Each choice affects the rest. Larger wheels may improve clearance but increase torque requirements. A stronger motor may require a different motor driver, battery, wire gauge, and mounting geometry.
Start with the job the robot must perform, then define its limits. Keep the first version focused. An early prototype that reliably follows a line is usually more valuable than a feature-packed design that cannot be assembled twice the same way.
A useful brief should establish at least these five points:
- The robot’s primary behavior, such as sorting objects, exploring a classroom maze, or monitoring a greenhouse bed.
- The build environment, including indoor or outdoor use, surface conditions, temperature, and exposure to dust or moisture.
- The intended builder, from guided beginner to experienced engineer.
- The target constraints for size, power source, budget, and assembly time.
- The next milestone, whether that is a classroom demo, a working prototype, a sellable kit, or a metal 3D-printable enclosure.
Build the System Around the Right Electronics
Integrated circuit selection is where a promising robot can either gain flexibility or inherit limitations. The microcontroller is the decision-maker, but it cannot be chosen in isolation. Count the inputs and outputs you need, consider communication protocols, calculate power requirements, and leave room for future sensors or actuators.
For a basic line-following rover, a compact controller with analog or digital sensor support may be enough. For a connected monitoring robot, Wi-Fi, Bluetooth, memory capacity, and low-power behavior may matter more. For image processing or advanced autonomy, the design may need a more capable processor paired with a separate microcontroller for real-time motor control.
The practical question is not, “What is the most powerful chip?” It is, “What chip supports this robot’s required behavior with reasonable cost, available documentation, and enough margin for iteration?” A controller with abundant community examples can be a better kit choice than a technically superior part that creates a steep learning curve or uncertain supply path.
Power planning deserves the same discipline. Motors introduce electrical noise and current spikes that can reset a controller if the system is designed carelessly. Separate motor and logic power paths where appropriate, use a driver rated above expected current, and include voltage regulation that matches the battery chemistry and component requirements. A wiring diagram should show every power connection, ground reference, connector, and polarity-sensitive part clearly.
For classroom and beginner kits, connectors and protection features may be worth the added cost. Keyed plugs, labeled ports, fuse protection, reverse-polarity safeguards, and strain relief reduce the number of failures caused by a single misplaced wire. For advanced builders, exposed headers and expansion ports can be more valuable because they make experimentation easier. The right choice depends on whether repeatability or open-ended modification is the priority.
Design for Assembly, Not Just Performance
A robot that performs well but requires three hands, an improvised spacer, and a mystery screw is not ready to become a kit. Mechanical design should account for assembly order from the start.
Place mounting holes where a screwdriver can reach them. Avoid trapping a connector behind a battery compartment. Use a limited set of fastener sizes whenever possible. Give sensors a defined reference position so that two builders do not accidentally produce two different calibration problems. If a component can be installed backward, add geometry, labels, or connector choices that make the correct orientation obvious.
Part count is another trade-off. Fewer unique parts simplify procurement and documentation, but a simplified design can become harder to repair or customize. A modular sensor bracket may add parts while enabling a classroom to compare ultrasonic, infrared, and camera-based behavior on the same chassis. That can be the right choice for an educational platform, even if it is not the lowest-cost path.
Prototype the assembly sequence with real components, not only a digital model. Time the build. Note where a builder might confuse similar hardware. Test whether wires bend sharply, interfere with moving parts, or pull loose when the robot turns. These small observations often determine whether a kit feels professional.
Create Documentation That Lets Builders Succeed
Documentation is part of the product. A bill of materials tells a builder what exists; assembly instructions tell them what to do; wiring diagrams explain how the system connects; starter code proves that the hardware can perform its first behavior. Missing any one of these creates friction at exactly the moment enthusiasm is highest.
Assembly steps should follow the physical build sequence and show checkpoints. Instead of asking builders to complete an entire chassis before testing anything, verify the drive motors when the drivetrain is installed. Confirm sensor readings before closing an enclosure. Test battery voltage before connecting the controller.
Starter code should be intentionally small and readable. A first program might spin each motor, print a distance reading, or blink an LED when a sensor threshold is crossed. These are not throwaway examples. They isolate subsystems, making troubleshooting much faster than testing a complex autonomous routine immediately.
Use naming that matches the physical kit. If the assembly guide calls a port “left motor,” the code should not refer to it as `motorB` without explanation. If a sensor is mounted at the front-right corner, say so consistently in the diagram, instructions, and software comments. Clear language is an engineering tool.
Use AI to Shorten the Path From Concept to Prototype
The fragmented workflow is often the real barrier to building custom hardware. A creator may move between component datasheets, CAD tools, circuit software, code editors, procurement spreadsheets, and separate documentation files before a first prototype even exists. That is manageable for an experienced team, but it slows down learning and makes small product experiments harder to justify.
Danon Robotica approaches that work as a single guided workflow. Describe the robot idea in plain English, then turn it into a design specification with selected integrated circuits, a wiring diagram, assembly steps, starter code, and a bill of materials. The point is not to remove engineering judgment. It is to produce a coherent starting package so builders can spend more time testing real hardware and less time recreating disconnected documents.
AI-generated outputs still need validation. Check component availability, confirm electrical ratings, inspect tolerances in mechanical parts, and test safety-critical behavior in controlled conditions. A design for a small indoor rover has very different risks from one that carries tools, heats materials, operates near people, or uses high-current batteries. The faster a concept is generated, the more deliberately it should be reviewed.
A Custom Robotics Kit Design Workflow That Scales
Once the first build works, resist the urge to immediately add every possible feature. Build a second unit using only the provided documentation and parts list. If that build exposes confusion, missing hardware, unclear wiring, or a code dependency no one recorded, fix the kit before expanding it.
Then test the kit with someone who did not design it. Watch where they pause. Their questions reveal the gaps that experts overlook: Which screw goes here? Does this cable face up? Why is the robot turning left when the code says right? Those moments are not user error. They are product feedback.
For creators planning to sell, version control matters early. Assign a version to the bill of materials, wiring diagram, enclosure files, and starter code. A substituted motor or updated sensor can change fit, wiring, calibration, and instructions. Treat every change as a system change, even when it looks small.
The best next step is not a bigger robot. It is a build someone else can complete with confidence, then modify into an idea you did not anticipate.